Music Production
I'm wondering if the attack of sounds can be generally modulated after the fact to an arbitrary audio file and similarly for a piano-pedal sustain type effect. Can they be gradually and arbitrarily modulated?
- Does it lower the decibels of ambient above-surface noise, to what extent? - Is it preferential to filtering out low or mid or high frequencies or do they all move through it as a medium about equally in terms of perceptibillity by the submerged end observer?
I don’t think there’s a way to do a proper poll so if you don’t see your DAW mentioned in a top level comment, make the comment to the post. If it’s already listed, maybe just upvote it? That way we can get a representation of what DAWs are more among subscribers here. I’m curious just because it’s always neat to hear what people use and how, but also to see how possible tuts or techniques can be explained in a way more people will understand. Or provide a variety of examples for various DAWs. EDIT: Actually, I don’t know the best way to list the ones I use without making a few comments to this post. I’ll just upvote them if I see them listed.
Another great look at the gear and process behind a classic track. I love to hear musicians set the record straight on what techniques they used to achieve iconic sounds. Edit: the video starts out as a correction/follow-up on a previous video [“Nuthin but a G thang” by Dr Dre | Minimoog G funk Lead](https://youtu.be/VIQxK8Drjhw), but expands beyond that
So not *entirely* music related, but my don't-use-reddit policy and this looking like the closest not entirely dead community has led me to post sooo... I have an audio question about recording levels. I'm doing voice-over stuff for some really bad Youtube videos I'd like to make and it never sounds remotely good. I get that the recording volume should be just the green side of clipping, but how do you take a track, and then add it to other tracks and balance the whole thing to not sound like ass? It always seems that it's either too loud or too quiet and I'm baffled as to how to tweak the mix correctly so that things sound right.
This is a simple technique that creates a beautiful spread on acoustic guitar. It requires a few things first: - Acoustic guitar recorded on two tracks. - One track with a mic capturing the neck. I like to use a small diaphragm condenser. - Another track with a mic capturing the body. I usually go large diaphragm condenser. - (or go with some other XY/stereo mic config) - Two aux channels with a reverb. One aux panned hard left the other panned hard right. Usually when guitars are mic’d with two mics like this, in the mix you pan them hard left and right. Like body left, neck right. The trick here is that for the guitar track you pan left, send a bit to the reverb aux panned right. For the track panned right, send to the left reverb aux. What happens is that the reverb will fill the opposing sides and creates a super spacious and wide sound unlike just sending both guitar tracks to one aux. You can get an even better effect if the reverbs each have a slightly different setting. That’s all dependent on the sound you’re going for though. That’s it! I hope the explanation is not too confusing. If so please let me know so I can clarify any questions. Give it a try!
Any projects or demos you'd like to share or talk about? Exploring any new sound design or composition techniques?
cross-posted from: https://sopuli.xyz/post/14281466 > I've never seen computer keys used in place of piano keys before though I am sure being able to customize the feel of the switches is pretty nice. Are there production midi controllers that do the same?
Feedback welcome. Thanks for checking it out!
 www.youtube.com
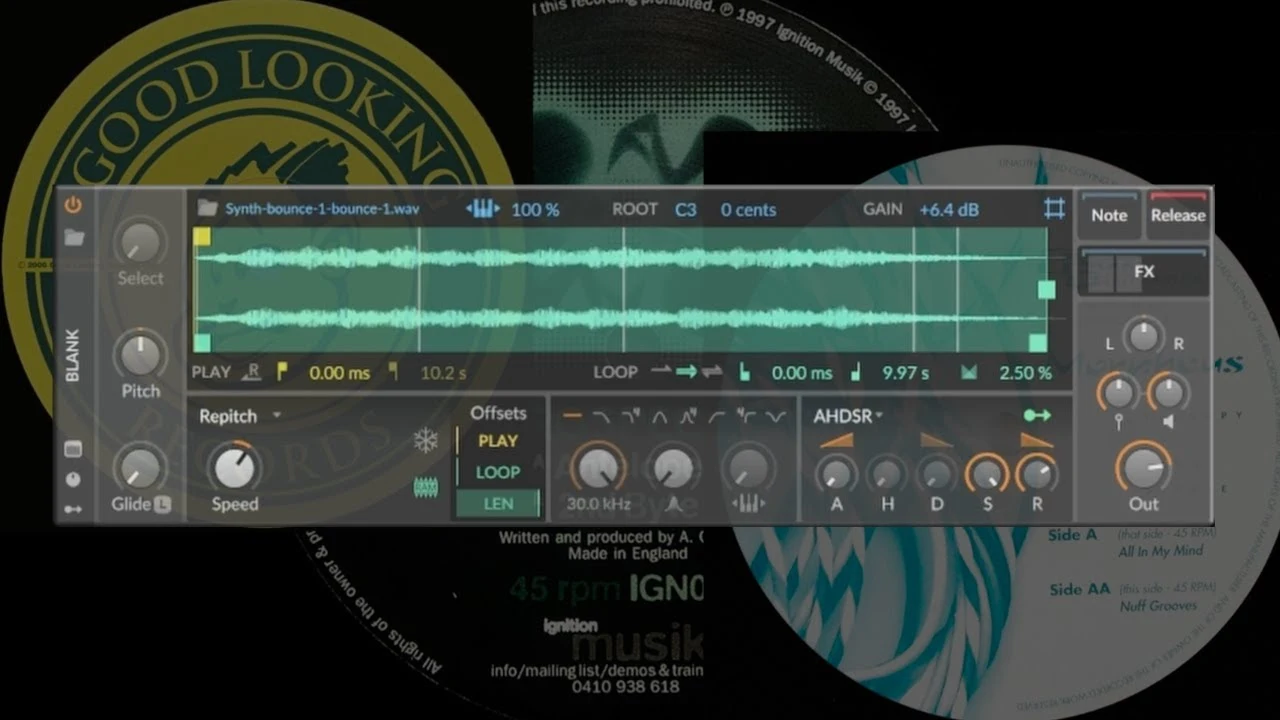
If you’ve listened to some 90s and early 00s ambient-oriented tracks and tried to recreate their sounds with just a synth, you’ll notice that downsampling and bitcrushing won’t get you the same kind of sound you hear in there. It will sound dull(er) and less… complete, lush, rich? That is because back in the day artists sampled their synths and the technical side of that process had some cool side effects. You can sample in two different ways. You can sample whole chords, where your parallel harmonies and frequency stretching will combine into a weird but cool sound. Or, on the topic of this video, you can sample an individual note from a synth and have your frequency stretching happen with different magnitudes for every note of the chord. That will create an interesting and rich sound! This Thought-Forms video will show you an exact how-to with some tips on how to develop that sampler sound once you get the basics. It’s quick, concise and really informative. I hope you find this technique useful. AMN out!

There are a lot of great stereo imaging tools and spectrum analyzers. Most of them aren't free though. Having a good way to visually analyze loudness, frequency distribution and stereo image is incredibly important. Unfortunately, it is often the case that most default or free solutions are barely functional. They don't provide you with enough information to shape your mix or don't present it in a simple, clear and understandable format. (I'm looking at you, FL studio visualizers!) SPAN is a spectrum analysis tool that will let you monitor your peak volume, RMS and LUFS. It shows you the frequencies that are passing through the plugin and you can customize the spectrum view by changing time, frequency and level ranges. If you want even more precision and control, you can adjust the fast fourier transform sample size, it gets that technical! You can also compare channels, left and right of the same channel or two different ones. Two channel comparison is the limit of the free version, SPAN Plus allows you to display as many channels as your DAW will allow. It also features a correlation meter that measures your phase alignment (1=fully aligned and -1=completely misaligned). It can also track your loudness stats thoughout the playtime to iron out any kinks. Handy, functional and no-nonsense tool. MSED is a stereo analysis and encoding tool. It can help you manange your side and mid channels: your stereo image. It comes with a basic set of tools that allows you to pan, change levels, swap left-right channels and flip phase 180 degrees. The visualizers are pretty simple, you have your correlation meter from before, stereo pan meter and plasma-style vector scope. You might think you don't need it if you DAW provides stereo imaging functions of its own, but often times you're going to be playing guessing games in terms of how that audio will actually get processed: some DAWS merge your stereo tracks to mono, some don't. MSED takes care of that ambiguity and puts all of the necessary tools and monitoring in one spot. These plugins are available in VST, VST3, AU and AAX for free! I really can't recommend them enough if you're starting out producing or are in need of simple tools that won't take a toll on your CPU with fancy advanced processing. SPAN Product page: https://www.voxengo.com/product/span/ MSED Product page: https://www.voxengo.com/product/msed/
 www.youtube.com
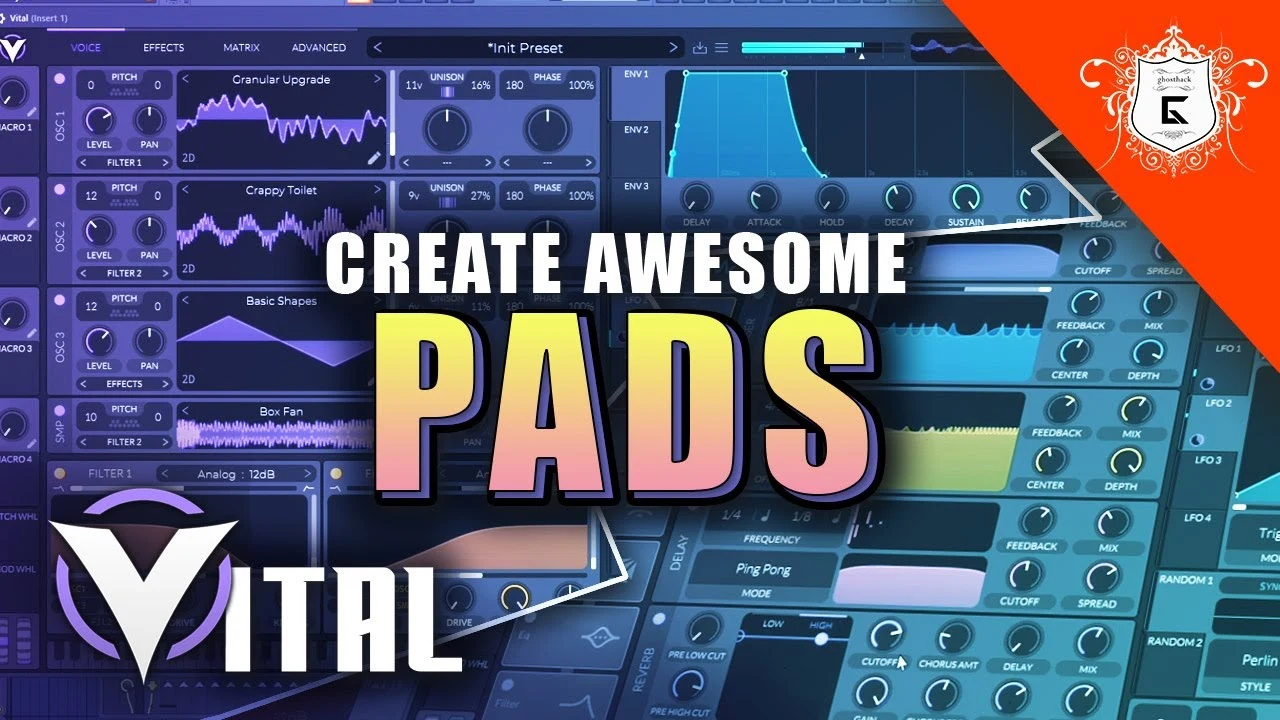
::: spoiler Spoiler: Status update!!! Sorry lads! Must've missed the cross-post a couple of days ago! Slow rate of content due to my new job, still trying to figure out how to best duplicate other users' submissions on waveform for this instance and vice versa, community post on that issue incoming soon. Hold tight! ::: . Making a great sounding pad is actually more tricky than getting some cool synth and drowning it in tons of reverb. I know I tried that the first time. And failed miserably. You don't have to! Will is gonna walk us through different tricks and ideas to flesh out an ambient pad. Using a root tone, texture tones for highs and lows, some effects and simple automations will allow you to create a cool and easily customizeable(!) pad from scratch with any and all wavetables that you want in there! Hope you find it useful, guys! AMN out!
 www.youtube.com
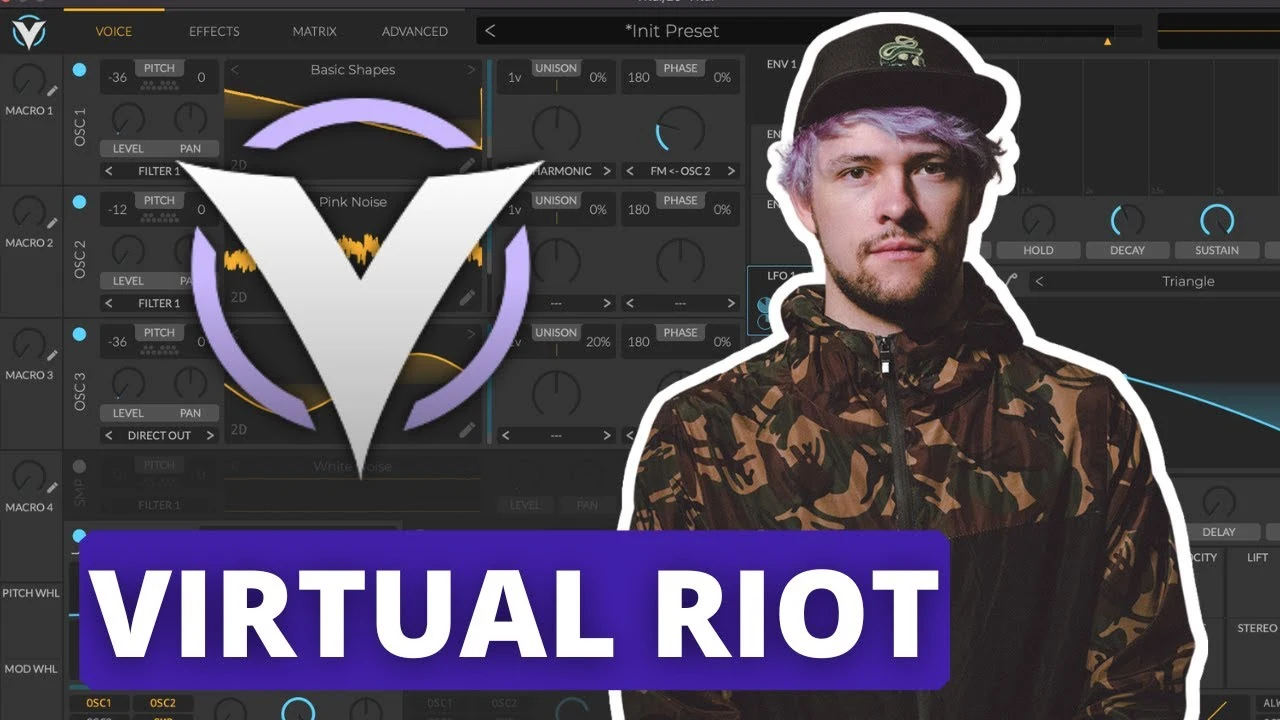
Dubstep growls may sound like they’re simple, but getting a good growl sound is way more than just distorting some waves to all hell (though it may be a part of it). Using your envelopes and LFOs to shape the sound through filters, distortion and other effects will get quite a bit more complicated. Noah will show us how to get a high quality, clean and powerful dubstep growl in the style of Virtual Riot, so you can put those skills and ideas to use in your own synth patches. P.S: My posts will slow down from here on out as I have a bit more going on IRL than I did when I started. This one today is a quickie in between my schedule, but bigger posts will still keep coming and I hope you find it interesting nevertheless!
 www.youtube.com
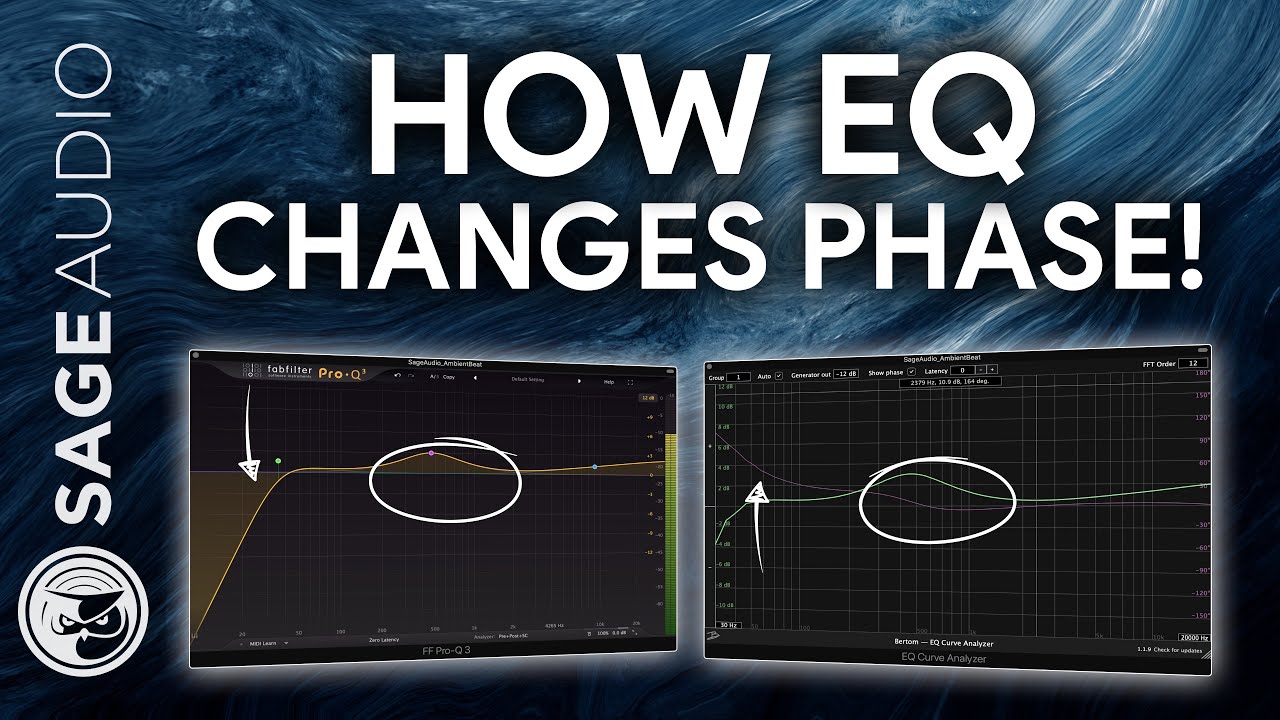
EQ is a really simple tool, but the way it works is anything but that. Different equalizers use different algorithms to process your audio, and most of them will affect your sound in unexpected ways. The video will give you an overview on some technical reasons why phase weirdness happens with most EQs and also how an asymmetric EQ setup can give you unexpected Haas effects. And man, does Sage Audio's video feature some sick beats!
 www.youtube.com
I was looking for some good videos on automation and it surprised me that there’s not a lot of content relating to the decision making process, despite automation being a standard feature in any modern production software. Automation is an important tool in any music producers kit and learning how to use it well is just as important as arranging your tracks, if not slightly more so for electronic tracks. One could say that in electronic music it is a part of arranging. There are a lot of fun ways to automate your productions, like creating macro effects for your synths to use as buildups or additional texture. Today though, we’ll take a look at how Fabio from Noize London approaches making transitions, building and releasing tension, and working with emotion through gain automation.
Do you ever feel like you can make a great loop but you can't make a great song? I don't know if that's your experience, but I've been there before, and let me tell you, it's a nightmare. It brings to question all of your skills that you have developed so far, because you've been able to cruise through without thinking about it. But now it just isn't enough! I needed more variety in my tracks. So if you're like me then this video is just for you. Nathan goes into a key concept about arrangement that will help you think about it in a much more constructive way. Every instrument can be played with different articulation, loudness, rhythm, etc. and it doesn't have to play all the time. So Nathan poses three big questions of arrangement: what is playing, when is it playing and how is it being played? This video will show you how these questions give you insight into what you were doing subconsciously (and how to answer them in a creative way). It will provide you with a simple thinking process for arrangement decision-making that will ease up some of that tension between hearing the song in your mind and putting it into your DAW. So try it out!

As you might've noticed if you visited our community page after this post, **I made a very cool looking banner** (or so my mum tells me). Thing is, I don't use that many plugins on my own, and what better way to make the banner look interesting than to put *your* favorite plugins in there? **This page will also serve as a cool overview of different plugins our community uses**, so be sure to post *all* of your favorites! I'll pick the coolest-looking ones for the banner! **This post is gonna stay up** until I decide that the banner is done (and perhaps we'll make it a seasonal thing to swap it out, who knows?) I'll update this banner in my spare time when you guys post some things to add. **To get on the banner**, comment the name of a plugin and the company or a name of the person who made it. You can also post a link to its page or your own screenshot of the plugin, if you want. I don't know what the limit is to how many plugins I can put in the image, but we should have a lot of space (and we're not limited to the amount of spots currently on the list). I suppose as long as every individual plugin is recognizable when shrinked, we're all good! Right now the banner features: (in order: columns from left to right) 1. **Pro-Q 3** by Fabfilter 2. **SPAN** by Voxengo 3. **Denoiser** by Bertom 4. **Vital** by Vital Audio 5. **MSED** by Voxengo 6. **OTT** by Xfer ^posted^ ^by^ ^u/iKill101@lemmy.bleh.au^ 7. **sforzando** by Plogue 8. **Maximus** by Image-Line 9. **XO** by XLN Audio ^posted^ ^by^ ^u/can^ 10. **Sytrus** by Image-Line 11. **1176 Collection** by Universal Audio I'll swap out the placeholders for your submissions and credit you! Like this: **Stuff** by Cool People ^posted^ ^by^ ^u/supercoolperson^ And that's about it. Sh.itjust.works and waveform.social will have different banners (in the same style), so we can do something different with both of them! Post away!
Mixing in mono is one of those production "tricks" that have solidified in my mixing routine to achieve clearer mixes. It's a really easy shortcut to hearing levels and even frequencies of everything in your track without the distraction of stereo imaging. It also helps to figure out phase issues between closely tuned kicks and bass and correct your synth sound design too! But sometimes the immediate benefit it gives us gets outweighed by a longterm one of improving your critical hearing skills. For example, if you use mono to hear frequency fighting between instruments, you're undercutting your learning experience of properly working with frequencies in stereo. After all, it's not uncommon to pan different instruments asymmetrically. Having stereo means you have two different signals that should be shaped on their own terms. Michael is going to walk us through some of the things that mixing in mono can be used for and give some perspective on how those particular uses stack up in a more robust or specific production workflow. And, I hope this knowledge helps you in your own productions!

Alright, I've had some time to think about it, and we're gonna be staying open to comments. Sorry if this post upset you earlier, it wasn't my intention to be dramatic (though I understand that I most likely was). I'm not great at these things.. yet. I hope Lemmy's cross-instance communication options improve and we can get a better way to comment on posts between different communities later down the line. For now, we have to put in work to make this community and fediverse grow, so we can have a place to share knowledge and emotions that no corporation will run into the ground for profit. Contents of this post before the decision was made, for reference: ::: spoiler spoiler This community was created when I just started browsing on Lemmy, so I really had no clue about what is the best way to handle a community here. Considering the nature of fediverse, it's not a question that's easy to answer. And I still don't have a perfect answer, but I think I might be closer to it. What I want to do is to lock all posts from future comments on sh.itjust.works. I have a couple of good reasons to do this and a couple of reasons to reconsider. I'll go over them in a list and try to keep some perspective on them. **Reasons to lock** I want **to direct discussion to music instances for everyone's convenience**. A single place for music discussion, so you don't have to switch over multiple posts and check if somebody is talking about the same thing. I understand that the idea of the fediverse is to decentralize, which I fully agree with. Unfortunately, the functionality of Lemmy right now doesn't play well with that idea and provides a horrible user experience in return for following it. Compromises have to be made. Also, having most music-production discussion, communities and posts in one instance will **make it easier to find related content**. Browsing communities on waveform is way easier than trying to guess all possible names that a music community might have. For example, if you search for "Music Production" on lemmy community browser, you might not find "Ableton" or "FL Studio" communities that are directly related to it and there are many more community names that are not easily guessable (like there used to be on r***it, with places like r/trees or r/worldpolitics, nsfw warning). I hope you get my point there. Finally, I feel like a lot of users have anxiety over posting at a correct place (same as me, same as it was on r***it), so restricting comments to one instance will **help us reduce anxiety and help first-time commenters and posters make the initial push**. (Maybe rewriting the sidebar to be a bit less imposing will help that too) **Reasons to not lock** I understand that some people found this community on sh.itjust.works and appreciate **the convenience of being able to do everything here**. I don't want to take away from that if I don't have to. Good news is, these problems are known by the devs and better synchronization between instances and cross-posts will come, so **the measure is going to be temporary** while Lemmy is busy getting better developer support from FOSS community. In addition, there is an argument to be made about **archiving of knowledge and redundancy**. If we lock comments to just one instance, if that instance goes down (temporarily or forever), all of the history made on that instance could be gone too. As far as I know, other servers definitely keep records of servers they federated with, **but searching for copies of posts might get more difficult in case of one instance going down** as not every server is going to have every community discovered to archive it (and I do not know if there are any other limitations to that feature). Again, that's something I can only partially address as a community moderator, as the issue lies in the platform. It's inevitable that we're going to lose some history if the worst is to happen. Sh.itjust.works isn't immune to that either, so that's that. **Locking down comments won't stop me (or others) from posting here either** and I'm going to keep posting here for the forseeable future. So if you're here just for the content, you don't have to worry. I hope you guys can provide me with some input on this, because as it stands, I don't want to upset what we have right now, so this is something I can only do with your agreement. Let me know what you think about this issue and whether you consider it an issue at all. You can comment here, send me a DM or talk to me on my matrix chat, which should be working. Any feedback will be helpful here. Thanks :::
This is one of those techniques that can really push you over from intermediate to pro. You need a good grasp on compression: what it does to your instruments and how it affects their texture. Parallel compression is simple, yet subtlety is what makes it work, you need good ears for compression for this to work in your favor. The essence of parallel compression is immediate and delicate control of the different textures in your recordings or even synths. You make a compressor for different elements of the instrument. In drums it is your punches, your transients and sticknoises, your long releases on snares and the color of all noises: bright, muddy, etc. Sometimes a compressor will affect multiple qualities (but not all of them). Then you make your compressors exxagerate the elements you choose separately. Then you mix the compressors in a way that you find pleasing. That's what I've gotten out of the video and if you want to get a better grasp for the subtleties with apt explanations from Gregory, then that's the spirit! Go watch it! If you can't hear the differences, try increasing your speaker/headphones volume. The effect is subtle so don't go too loud, just enough to hear the differences described. To avoid any potential hearing damage (in case you do go too loud and/or you listen on headphones), limit your loud volume listening to ~15 minutes or so.
 aconis.bandcamp.com
This is the first album I’ve made under a new alias where I’m focusing on dark ambient. Would love to hear any feedback or constructive criticism.
 www.youtube.com
How do you mix lots of instruments? Do you balance them all out so you can hear every single one that's playing? Then this one is probably for you! In this video, Gregory goes into why you should prioritize a couple of melodic instruments in a mix and also how to think about mixing with the listener in mind. Personally, it's been very helpful for me to formalize what I was already feeling. Sometimes I make a track with a focus on a couple of instruments and sometimes I try to balance everything out. Whenever I balance I feel like the track becomes too overwhelming to listen to and I was tearing my head apart as to why it happens on certain tracks and not the others. Now I know why, and I hope this video helps you on your journey too!
This one might be obvious to you folk who have worked on pro recordings. Compressing vocals and compressing instruments require different mindsets. Different in the way that you shouldn't be afraid to compress your vocals to -10 and -20db, while your instruments are at a subtle -2 to -5 (and I don't even limit myself there, because I love distorting my drums). This video will show you every trick you did before: eq, automation, reverb, etc. and compare it to compression in the context of a rock track.
This is a great video overview on just the neccessary bits and nuances of making Drum'n'Bass. What I like about this specific video is that it helps you understand what is possible within the genre and doesn't restrict you like an instruction manual. It will help you to familiarize yourself with the core concepts of DnB and give you some pointers on how to give your tracks a cohesive structure within it! Highly recommend.
Understanding how to manage rhythmic patterns is a must-know for any producer. Unfortunately, not everyone has a formal music education, so if you're like me, this video will help you bridge that gap and help you on your music making journey! EDMProd gives us some insights into the process of finding *your* rhythm with examples from house music and you can apply these concepts with relative ease to any other genre!
Compression feels esoteric to anyone who's starting out in the world of music production. Even when we start to understand how it works technically, we just slam on the gain and work that ratio until we can hear the difference as the sound explodes from distortion. But compression isn't just a tool to make your loudness more consistent, it's a tool that can help you shape the texture of individual samples or synths the way *you* want them to be. In this video, Gregory Scott, audio hardware and software designer tells us how to listen for compression (in drums, more specifically). Go check it out, and I hope it helps you on your journey!
A big part of creating unique tracks is getting your synths to sound unique and distinct from each other as well as from other producers. If you've been used to working with presets and know how it feels to be trying to find that one sound, why not start learning how to make it yourself? This video will get you started. As daunting as it may seem at first, making simple patches is really fast from the get-go, so don't feel like you won't be able to immediately put that knowledge to work. This video also goes into some technical details between different types of synthesis to avoid problems that you might encounter later in the mixing stage. If you need a free alternative to Serum, consider Vital from a previous post! Although, you should be able to follow it with any other synthesizer! I hope this video helps you guys on your journey!

Download: https://vital.audio/#getvital Video guide by In The Mix: https://www.youtube.com/watch?v=7qQX6YGBQEA I don't think there is any modern producer who hasn't heard of Vital, and probably even less who haven't heard of Serum. Those are the options when it comes to wavetable synths with great visual interface to give you better insight into your sound design. And from my limited experience with Serum, I think Vital might just be better in more than just visuals and price (Serum is so damn expensive!) Vital comes feature complete with its free version. The only thing you get for paying is more wavetables and presets as well as exclusive perks from the developers. It's a great boon to hobbyist producers, and these guys have great confidence that you'll donate to support the effort. And I think that confidence is well placed, they deliver. Vital is not one of those free alternatives that comes just as a way to do something a popular program does, but quicker, dirtier and worse. It's a feature-complete, well-polished product designed for professional use and comes with all bells and whistles you need to get amazing sounds out of it. And even some extras that you won't find in every other popular synth. If I go over every feature of Vital, we'll be here all day, so I'll highlight some of my favorites and let you decide if you want to give it a chance: Stereo LFOs allow you to stereoize your patches by desynchronizing your effect modulations. In layman's terms, you can use one control to do two different things to your left and right ears and get some clean (or trippy) stereo! Random oscillators with tons of customization for all of your modulation needs. They can help your patch sound more organic and fresh throughout your track, or create some whacky, glitchy and/or chaotic sounds. It comes with a stereo feature too! Great options for keyboard/note tracking, allowing you to keep your effects consistent (or warp them) on different pitches. You got a keyboard track option built into your filters as well as note and note relative to octave controls that give you total freedom over how your instrument behaves on different pitches! I've been using Vital in my own productions for a while now and it's been a breeze to make the kind of sound I want with it. I hope this little overview helps you take the plunge and play around with it to see if you like it! Good luck! Edit: I'm still trying to figure out how to format post better for Lemmy, so I had to re-add the link to download after realizing it got replaced by the image. Whoops!
This is a great video tutorial for stereo imaging bass-heavy instruments that you want to stay consistent on the low end, such as a bass guitar or distorted bass synth. Using stereo imaging plugins might be problematic and not produce the same results, so check the video out if this is something new to you! If video is not your style, here's a short summary of "the trick": The problem with using most stereo enhancing plugins is that they don't actually create side content, they just push your mid content to the side and create a really jarring wobble effect that you can hear most clearly on the low end, and your mids might not sound quite as wide as a result. Reverbs smooth out the sound that passes through them, and with that they create unique frequencies that can be used for your stereo mix. This process fills the gaps in your frequency range and makes them distinct from your mono content, creating a wide stereo image and preserving clarity. Since we don't want to wash out the original sound we keep that reverb very short. First, route your instrument's signal to a channel you'll use for the reverb. Then, high pass reverb channel around 160 hz so that you don't feed your bass into it. Add a convolution reverb plugin to that chain. Remove the dry signal from reverb channel so that you can have proper control over the mix. Set an extremely short decay (~0.2-0.05 seconds) on the reverb, use a small room IR or preset. Then you just max out witdh/stereo separation so all of that sound gets sent to the side channels. If you did everything correctly, you now have your dry instrument channel and your reverb channel both sending signal to a bus or the master. Congrats! I've personally found that convolution reverbs are not necessary to achieve the same effect, but a unique room signature will certainly give the sound more flavor. Hope this little trick helps you on your journey!
I present to you VSCO Community Edition, one of the most high quality orchestral libraries that are available out there for free! They've got wind, strings, percussion and brass with articulations to boot! If you want to practice making some big orchestral pieces or to spice up your regular production without throwing out cash on a huge library you may not use, this. is. the. thing! For a quick overview of what this library can do, let me go over some of the cool features here. They got samples with different articulations for different instruments, all of your staccatos, mutes, attacks, tremolos, vibratos, soft, hard or medium, where applicable. All of it comes packaged in a ton of different variants, **.sfz** for orchestral samplers (like free **sforzando** and **sfiz**), free **Ochestools VST3**, two different **Kontakt libraries**, **.XRNI** for **Renoise**, and original **.wav** files if you want to work it into your specific sampler! As a bonus there's a bunch of **Omnisphere** patches by *Man Makes Noise* that features movie-trailer and hybrid sounds made from this library! But if you're trying to pick something for your first time, I suggest going with the .sfz paired with sforzando (Windows and MacOs) or sfiz (Linux). Sfz is a non-proprietary preset format that maps your .wav library to an orchestral sampler. It allows for Key Switch which is a feature for instruments with complex articulation that lets you play different articulations straight from piano roll, no tinkering required! All presets with key-switches built-in are marked with letters "KS", and if you wish to go deeper with it, you can make your own too! A video-tutorial from Versilian Studios themselves will show you how to set up your .sfz instruments and explain some details related to the format: https://www.youtube.com/watch?v=VomafctByTs Orchestools is more fit for advanced users that are willing to work with midi mapping, velocity mapping, envelope and LFO modulation to perfect the sound. Mind that you'll have to map every articulation separately so you can use them, as I'm not really aware if there is a Key Switch feature built-in. Also I haven't figured out a good way to work with percussion in it, so it might just not be fit for that use. All samples are provided with Creative Commons 0 license, which means you can use it for anything you want, commercial production included!
This is a great and (relatively) concise video explaining what saturation means, different types of saturation and their relation to harmonics. Some really big insights there that will clear the process up for you. Big recommend.

I've been using Bertrom Denoiser for a while now in all of my vocal chains to clean up the recording from an occasional noise and background hiss. It basically works as a multiband noise gate, which allows it to have almost no latency and accurately target random sounds you might get in a home production setting. Set a treshold, set the frequency range, get cleaner sound. Simple. You can manipulate the strength of the noise gate at every frequency and preserve clean areas without hiss or random noise. The plugin's use isn't limited to vocals either, it can work well with any instrument recording. They've got two versions of this plugin: Classic (Free) and Pro (25$ at the time of writing) The main difference between them is that you can only set one gating treshold for all frequencies in classic, whereas Pro allows to tweak a treshold for each frequency. I've found that using two classics for low-to-mid and mid-to-high frequencies is sufficient for a difficult recording, but most of the time one is all you need. That said, I bet you can really do some good clean up with Pro. Comes with versions for Windows, MacOS and Linux as VST3, AU or AAX, as well as for arm64 and apple silicon processors. Bertrom Denoiser Classic (Free): https://www.bertomaudio.com/denoiser-classic.html Bertrom Denoiser Pro (25$): https://www.bertomaudio.com/denoiser-pro.html
Music Production
!musicproduction@sh.itjust.worksThis is Music Production. A place to share anything and everything you want about your music making journey! Learning is the goal, so discussion is encouraged!
RIP Waveform.
Rules are as follows:
- Don't share other people's music without commentary, analysis or questions. This is not a music discovery community.
- No elitism or bigotry towards other people's music tastes. Be polite in disagreement.
I will update rules as necessary, but I promise we'll stay light on them and only add new ones after discussion!
Here are some useful examples of what a great post would be about:
(in no particular order)
- Stuff you made/are making. Get valuable feedback and criticism!
- Learning resources - videos, articles, posts on any topic concerning a production process, be it composition, sound design, sampling, mixing, mastering, DAW workflow or any other.
- Free plugins, presets and samplepacks. Giveaways and self-made stuff included!
- News about production software, releases and personalities.
- Questions and general advice about music production.
- Essays on your favorite productions. Inspirations and insights!
- Your physical analog gear! Let us know how it performs!
Good to know: As a general word of caution, avoid posting complete compositions, mixes and tracks on the internet before backing them up on a remote and reputable server. Even small snippets or watermarked tracks should be posted AFTER backing it up to cloud. Timestamps from cloud services will help you in case of theft. And, as a public resource, lemmy is not a safe place to post your unpublished work, so please make sure your work is protected.